
Valgustite tellimine koos paigaldusega
If you do not wish to perform the installation yourself, our specialists are ready to ensure a clean and high-quality final result.
Let us know your wishes and we will contact you soon!
Valgustite paigaldamise juhend
WARNING: Before installation, the protective film must be removed from the light elements. Please do not force the elements together, as this may damage the connections or cause malfunctions. It is recommended to consult a licensed electrician to ensure your electrical system is compliant. Test the lighting before final installation to the ceiling.
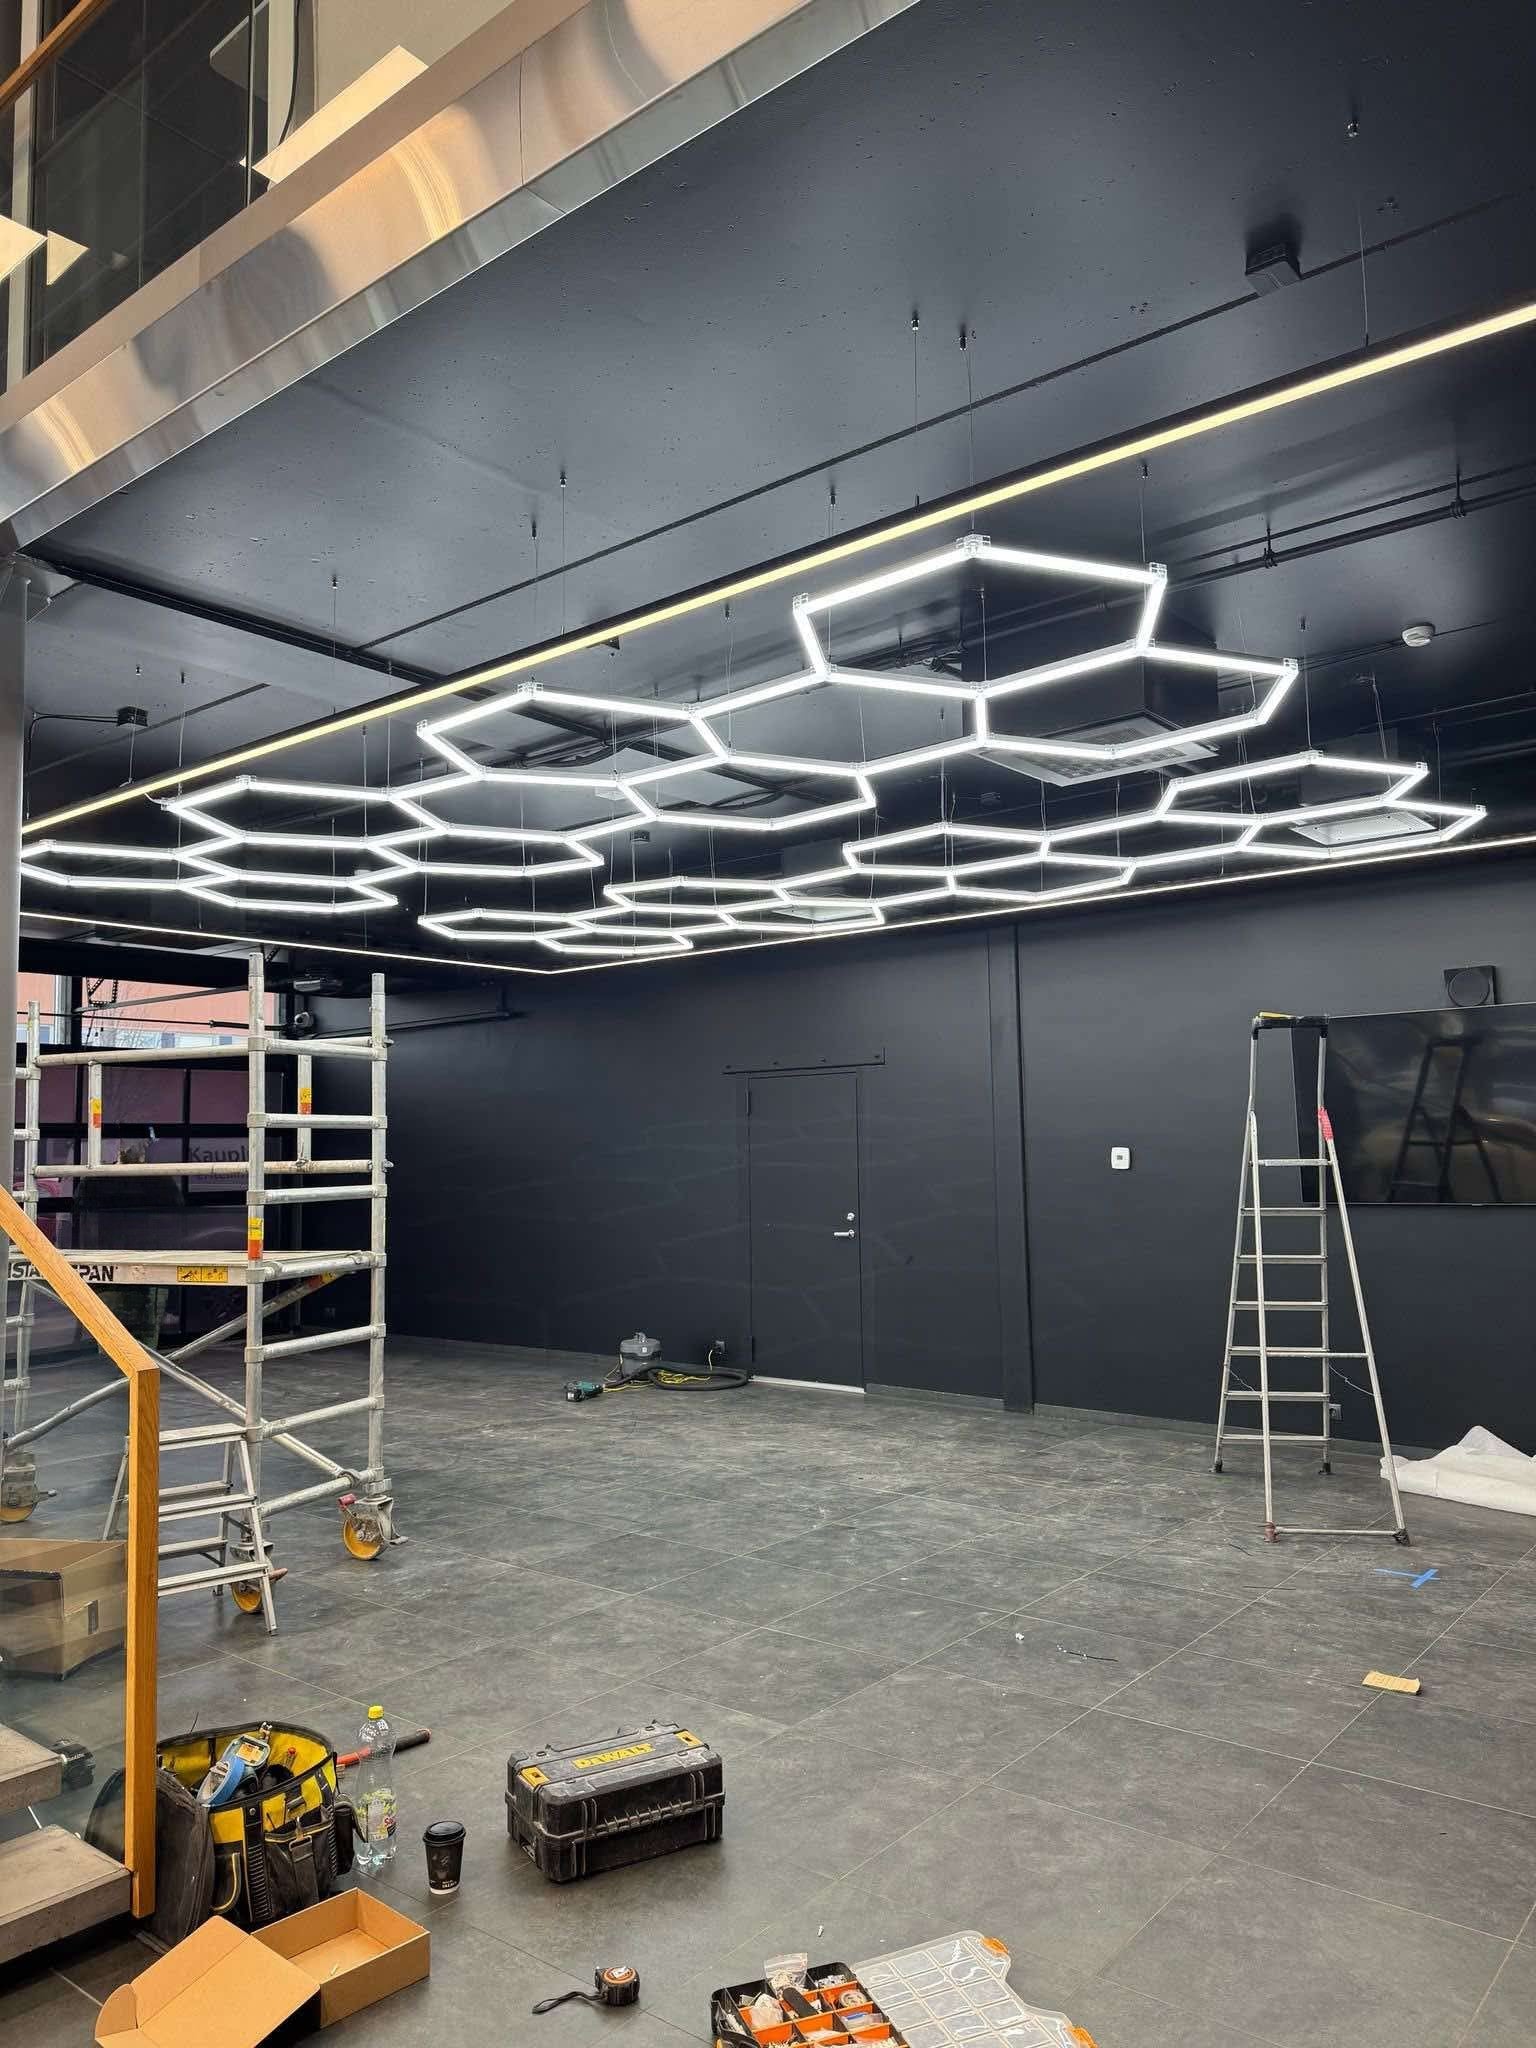
How to install?
STEP 1
If your kit includes a border, construct it first. If not, proceed directly to Step 3.
Connect the longer light tubes with straight and 90-degree connectors to form the border. Ensure the elements are correctly connected.
STEP 2
Place the T-connector at the corner of the border where the power cable connects to the power supply.
STEP 3
Connect each hexagonal shape into columns by joining the light tubes with Y-connectors to create desired patterns.
STEP 4
Place the Y-connectors on the outer sides of the hexagonal shapes where the power cables will be connected. The number of power cables required depends on the size and quantity of light elements in your kit.
STEP 5
Test the lighting before final installation to the ceiling. It is recommended to consult a licensed electrician to ensure your electrical system is adequate and that the final connection to the power supply is properly made.
Sul on küsimus? - Meil on vastus!
How many hexagonal LED elements can be connected to each other?
NB! Before installation, consult a licensed electrician!
The number of power cables and wire locations required depends on the size and quantity of the lighting tubes, to ensure even power distribution to the grid. If more elements are to be connected in series, additional connecting cables will be required. (Example: if a design includes a total of 75x 7W small elements, then two power cables will be needed)
1 power cable for a maximum of 65 small 7W elements
1 power cable for a maximum of 48 medium 9W elements
1 power cable for a maximum of 22 large 19W elements
Kas valgustuselemendid on veekindlad?
IP54 splash and dust resistance: The device is protected against dust and water splashes from any direction.
Kas hexagon valgustite kujundust saab muuta?
Yes! Hexagon lights are modular – you can freely combine them, change the size of the system, or create completely new shapes as you wish.
If one element stops working, will it affect the other lights?
No, the system is designed so that the failure of one element does not affect the operation of the rest of the luminaire. All other modules continue to illuminate, and replacing a faulty element is quick and easy, without having to dismantle the entire system.
Kui pikk on toodete garantii?
Yes! We are confident in the quality of our products and offer a 3-year warranty on Ledex hexagon kits. To ensure everything runs smoothly, we recommend following the installation instructions, as the warranty does not cover damages caused by incorrect installation.