How to install?
STEP 1
If your set contains a boundary, construct it first. If not, go straight to step 3.
Connect the longer light tubes with straight and 90-degree connectors to form a border. Make sure the elements are connected correctly.
STEP 2
Place the T-connector at the corner of the border where the power cable connects to the power source.
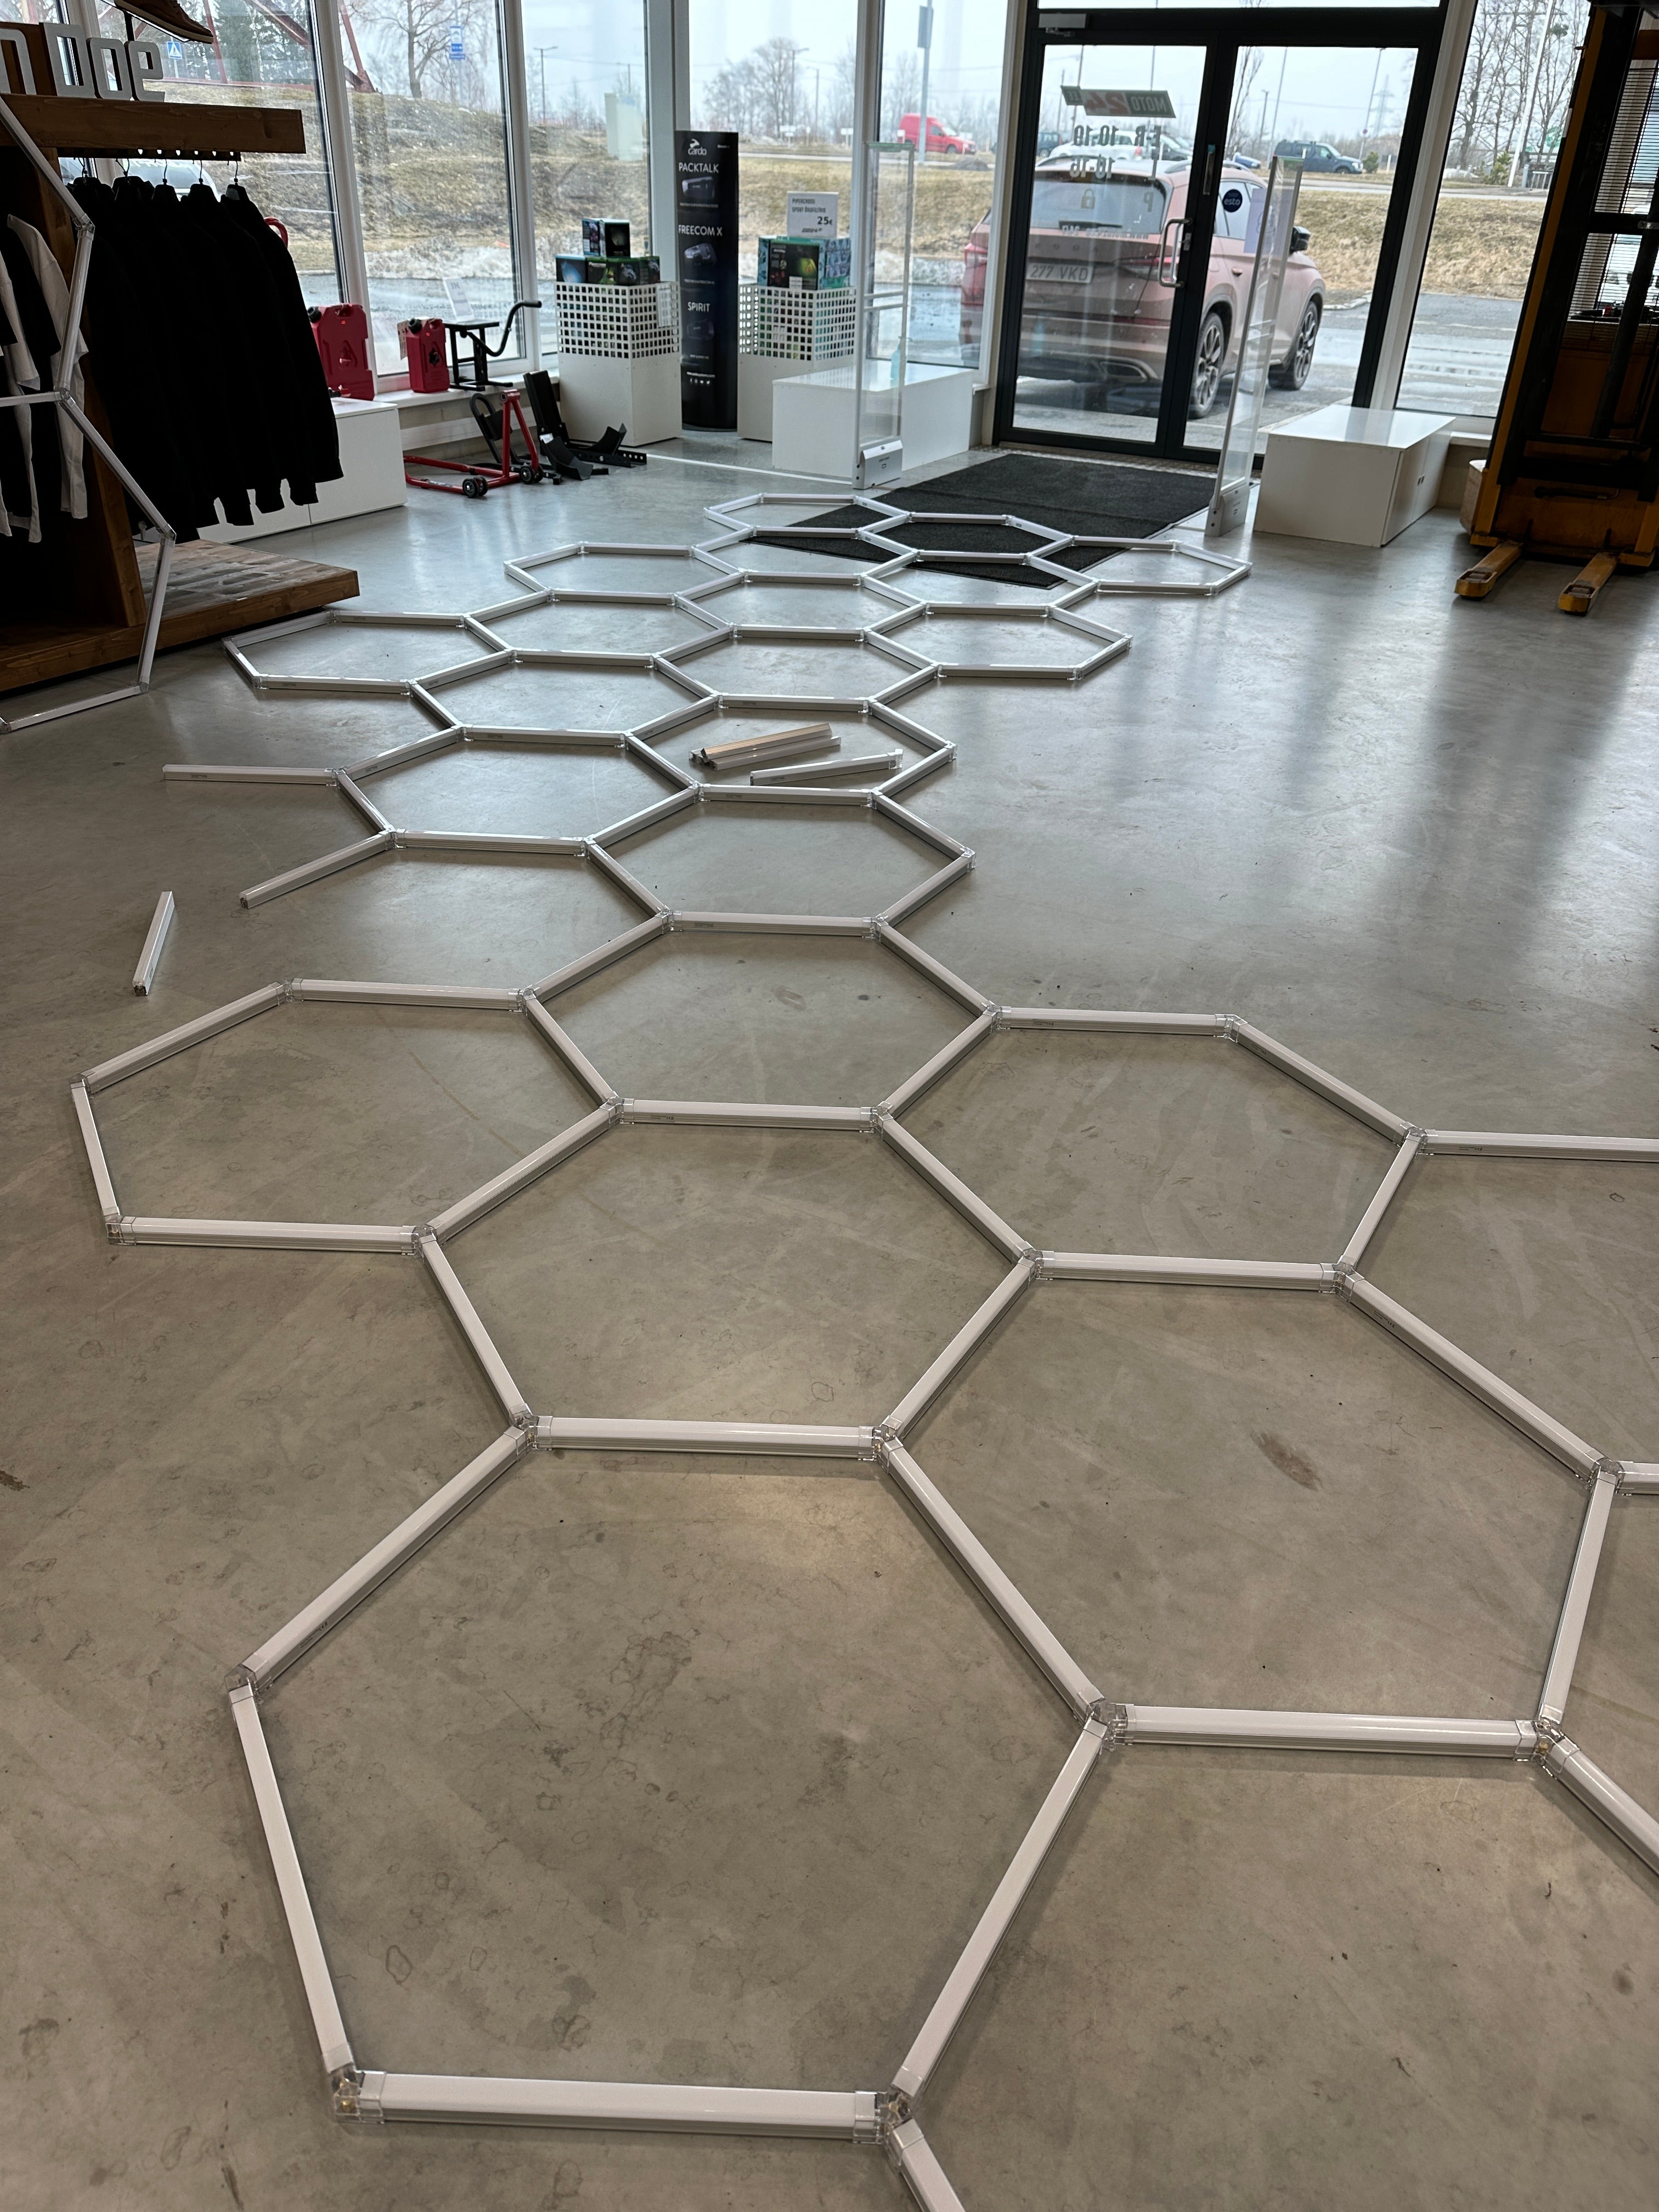
STEP 3
Connect each hexagonal shape into columns by connecting the light tubes with Y-connections to create the desired patterns.
STEP 4
Place Y-connectors on the outside of the hexagon shapes where the power cables will connect and connect to the power source. The number of power cables you need will depend on the size and quantity of light tubes in your kit.
STEP 5
Test the lighting before final installation to the ceiling. It is recommended to consult a licensed electrician to ensure that your electrical system is adequate and that the final connection to the power source is made properly.